
Modifying Termsrv.dll File to Allow Multiple RDP Session
To remove the restriction on the number of concurrent RDP user connections in Windows 10 without using rdpwraper, you can replace the original termsrv.dll file. This is the library file used by the Remote Desktop Service. The file is located in C:\Windows\System32 directory.
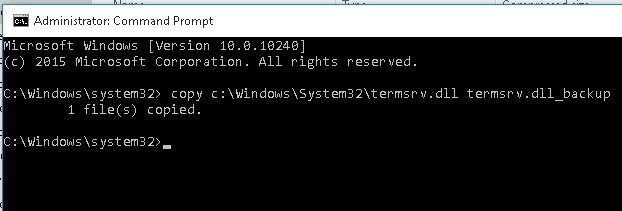
Before you edit or replace the termsrv.dll file, it is advisable to create its backup copy. If necessary, this will help you to return to the original file version:
copy c:\Windows\System32\termsrv.dll termsrv.dll_backup
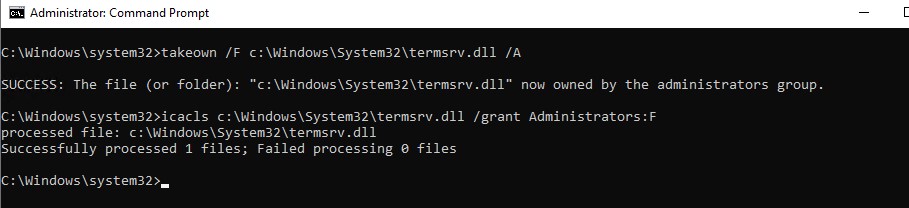
Before you edit the termsrv.dll file, you have to become its owner and give the Administrators group the full permissions to it. The easiest way to do this is from the command prompt. To change the file owner from TrustedInstaller to a local administrators group use the command:
takeown /F c:\Windows\System32\termsrv.dll /A
SUCCESS: The file (or folder): c:\Windows\System32\termsrv.dll now owned by the administrators group
Now grant the local administrators group Full Control permission on the termsrv.dll file:
icacls c:\Windows\System32\termsrv.dll /grant Administrators:F
processed file: c:\Windows\System32\termsrv.dll Successfully processed 1 files; Failed processing 0 files.
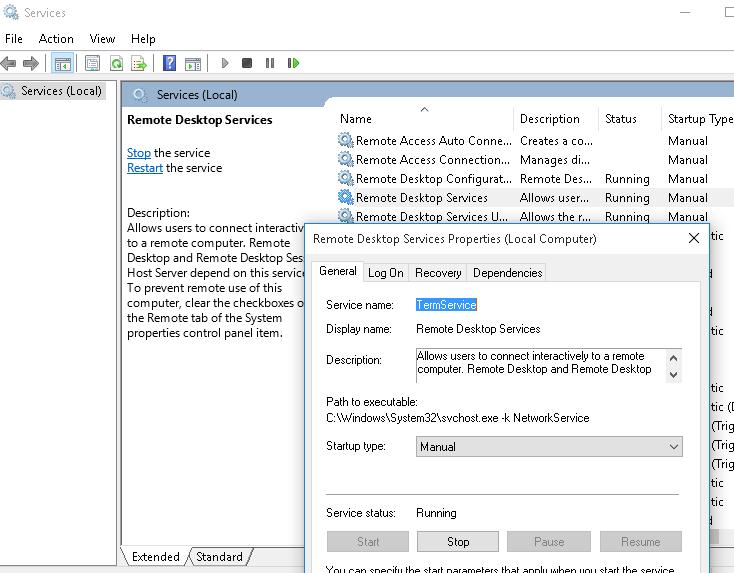
After that, stop the Remote Desktop service (TermService) from the services.msc console or from the command prompt:
Net stop TermService
Before moving on, you need to get your version (build number) of Windows 10. Open the PowerShell console and run the command:
Get-ComputerInfo | select WindowsProductName, WindowsVersionI have Windows 10 build 1909 installed on my computer.
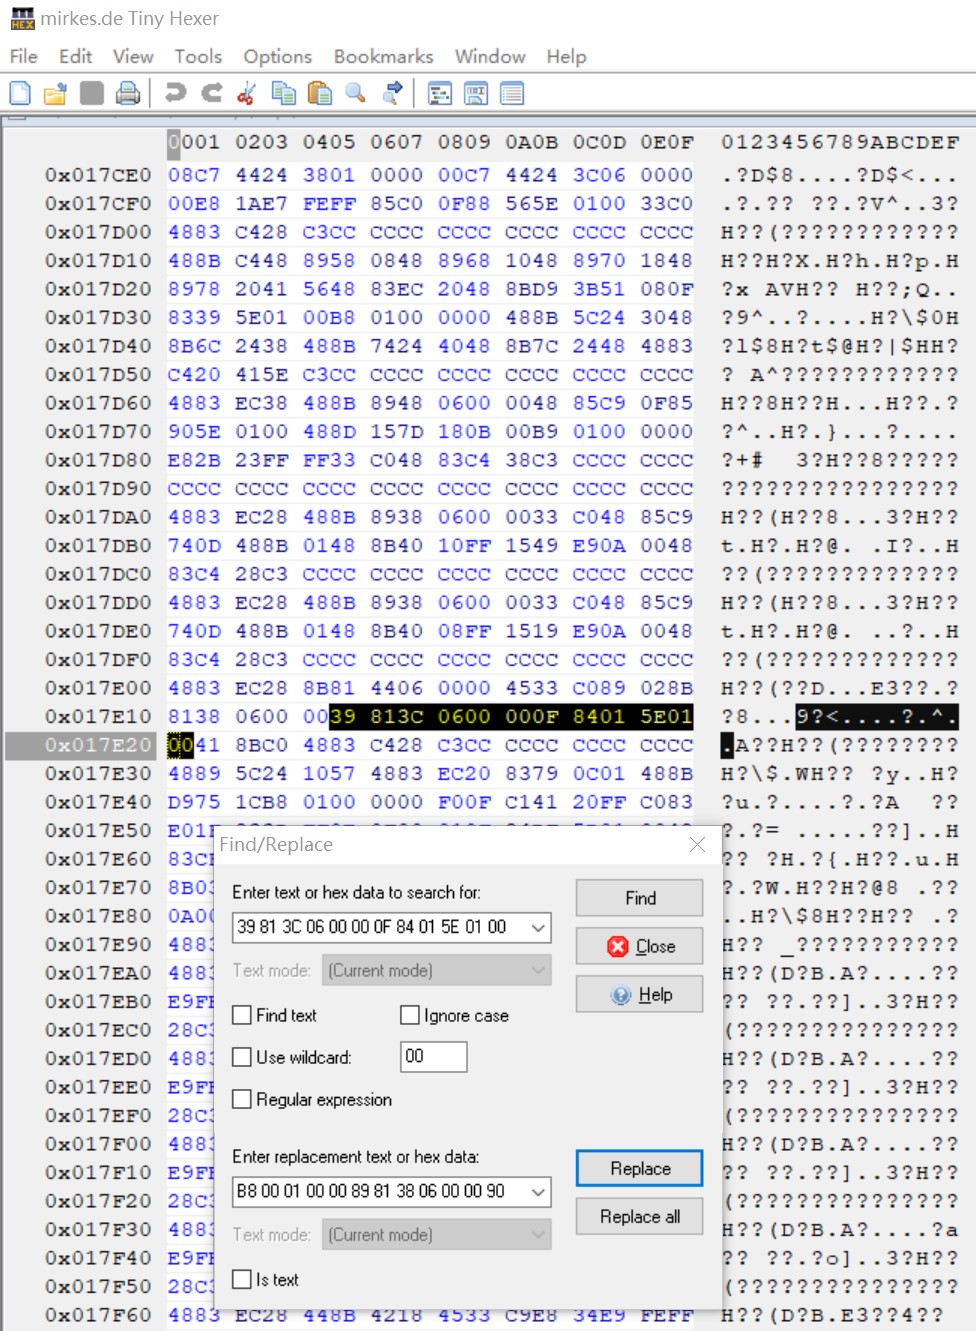
Then open the termsrv.dll file using any HEX editor (for example, Tiny Hexer). Depending on your Windows 10 build, you need to find and replace the code according to the table below:
| Windows 10 build | Find the string | Replace with |
| Windows 10 x64 1909 | 39 81 3C 06 00 00 0F 84 5D 61 01 00 | B8 00 01 00 00 89 81 38 06 00 00 90 |
| Windows 10 x64 1903 | 39 81 3C 06 00 00 0F 84 5D 61 01 00 | |
| Windows 10 x64 1809 | 39 81 3C 06 00 00 0F 84 3B 2B 01 00 | |
| Windows 10 x64 1803 | 8B 99 3C 06 00 00 8B B9 38 06 00 00 | |
| Windows 10 x64 1709 | 39 81 3C 06 00 00 0F 84 B1 7D 02 00 |
For example, for Windows 10 x64 RTM (10240) with the termsrv.dll file version 10.0.10240.16384, you need to find the line:
39 81 3C 06 00 00 0F 84 73 42 02 00
and replace it with:
B8 00 01 00 00 89 81 38 06 00 00 90

Save the file and run the TermService.
Already patched termsrv.dll file for Windows 10 Pro x64 can be downloaded here: termsrv_for_windows_10_x64_10240.zip
If something went wrong and you experience some problems with the Remote Desktop service, stop the service and replace the modified termsrv.dll file with the original version:
copy termsrv.dll_backup c:\Windows\System32\termsrv.dll
The advantage of the method of enabling multiple RDP sessions in Windows 10 by replacing the termsrv.dll file is that antiviruses do not respond on it (unlike the RDPWrap, which is detected by many antiviruses as a Malware/HackTool/Trojan).
The main drawback is that you will have to manually edit the termsrv.dll file each time you upgrade the Windows 10 build (or when updating the version of the termsrv.dll file during the installation of monthly cumulative updates).
Windows 10 x64 20H2 19042.746
After this update termsrv.dll is upgraded to version 10.0.19041.746 To get back concurrent remote desktop connections, make the following changes:
Find:
39 81 3C 06 00 00 0F 84 01 5E 01 00
replace with:
B8 00 01 00 00 89 81 38 06 00 00 90
What causes the ‘The Connection was Denied Because the User Account is not Authorized for Remote Login’ Error on Windows 10?
The cause of the error is in the error message itself that is —
- Insufficient permissions: The error pops up when your user account doesn’t have sufficient permissions to establish a connection with the target host.
- RD service: In some cases, the issue can also be if your Remote Desktop service has the wrong Log On user configured.
With that said, you can deal with the error by applying the following workarounds. Make sure to use an administrator account while implementing the given solutions.
Solution 1: Creating a New Security Group
In order to fix the issue, you might want to create a new security group whose members will have the power to establish a Remote Desktop connection. Here’s how to do it:
- Press Windows Key + R to open Run.
- Type in ‘secpol.msc’ and press Enter.
- Navigate to Local Policies > User Rights Assignment.
- From the list of policies, locate Allow log on through Remote Desktop Services and double-click it.Local Security Policy
- If there’s no Remote Desktop Users group under Administrators, follow the below instructions. If you already have one, skip to the next solution.
- Click Add User or Group and enter Remote Desktop Users under ‘Enter the object names to select’.Creating Remote Desktop Users Group
- Hit OK.
- Restart your system for it to take effect or you can just enter the following command in an elevated command prompt:gpupdate /force
Solution 2: Giving Access to your User Account
In some cases, if the user account that you are using to establish a Remote connection isn’t a member of the Remote Desktop Users group, you will be prompted with the said error. In such a scenario, you will have to add it in the Remote Desktop Users group. Here’s how to do that:
PRO TIP: If the issue is with your computer or a laptop/notebook you should try using Restoro Repair which can scan the repositories and replace corrupt and missing files. This works in most cases, where the issue is originated due to a system corruption. You can download Restoro by Clicking Here
- Press Winkey + R to open Run.
- Type in lusrmgr.msc and press Enter.
- Click on Users and then double-click your user account.
- Switch to the Member Of tab.User Groups
- If there’s no Remote Desktop Users group under Administrators, click Add.
- Select Advanced and then click Find now.
- From the list, double-click Remote Desktop Users and then click OK.Adding User Account to Remote Desktop Users Group
- Your user account is now a member of the Remote Desktop User group.
- Try establishing a connection now.
Solution 3: Checking Remote Desktop Service Log On User
If your Remote Desktop Service is using Local Service instead of Network Service as the log on user, it can also cause the issue to occur. You can fix this by changing it to Network Service. Here’s how to do it:
- Press Windows Key + R to open Run.
- Type in ‘services.msc‘ and press Enter.
- Locate Remote Desktop Service and then double-click it.Remote Desktop Service
- Switch to the Log On tab.
- If the Local Service account is selected, you’ll have to change it. Click Browse.
- Select Advanced and then click Find now.
- From the list, double-click Network Service and then click OK.Changing Remote Desktop Service Log On User
- Restart the service by right-clicking the service and selecting Restart.